A DIY shadow gap frame – Step-by-step guide and background knowledgen
The fascination of the shadow gap frame
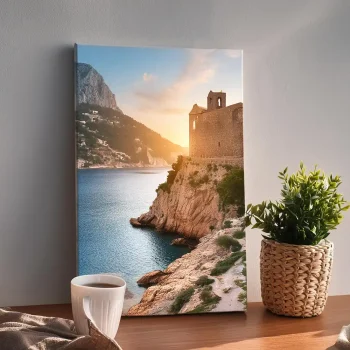
With its elegant construction and the characteristic L-profile, it highlights the artwork or picture without dominating it. Its minimalist-modern appearance makes it the first choice for artists, designers, and art lovers.The beginnings and minimalism
Mid-20th century: The middle of the 20th century was a time of upheaval in art and design. Movements like minimalism and pop art challenged traditional forms. Influence of the Guggenheim Museum: As the name suggests, the shadow gap frame is often associated with the Solomon R. Guggenheim Museum in New York. The museum's distinctive architecture, with its spiral ramps and emphasis on the art itself, inspired many artists and designers. Search for new presentation forms: During this time, artists and curators sought new ways to present artworks. The shadow gap frame offered an elegant solution to detach paintings from the wall and give them a certain lightness. Development and dissemination1960s and 70s:
In the 1960s and 70s, the shadow gap frame increasingly spread in galleries and museums. Artists like Frank Stella and Robert Rauschenberg, who worked with large, minimalist works, particularly benefited from this presentation form. Influence on pop culture: The shadow gap frame also found its way into pop culture. In films and TV series, it was often used as a symbol of modern taste and art appreciation. Technological advances: With the development of new materials and production techniques, it became easier to produce shadow gap frames in various sizes and finishes. The shadow gap frame todayVersatility:
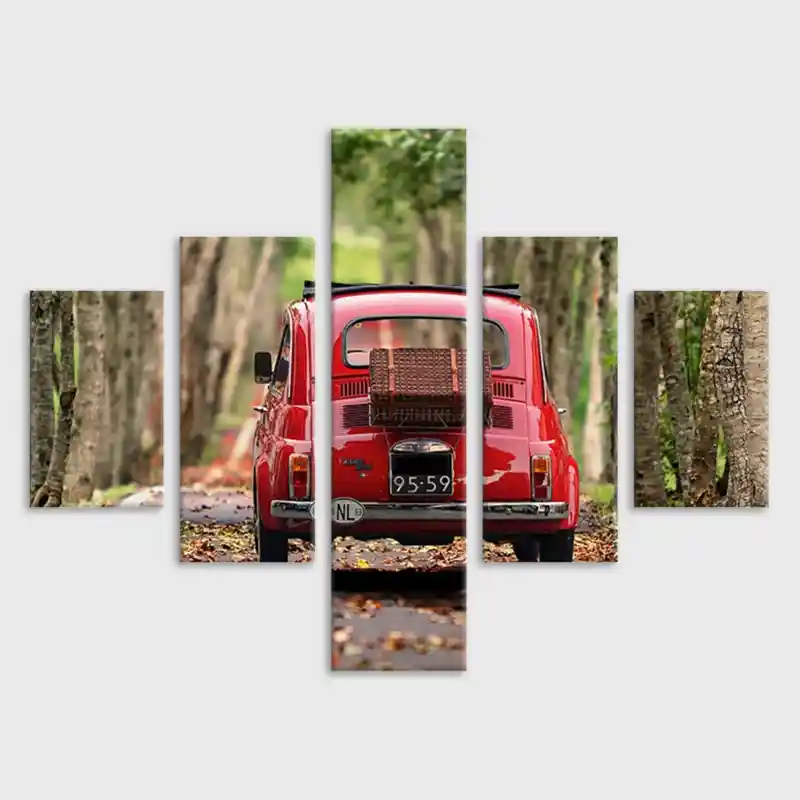
- Today, the shadow gap frame is a staple in modern art presentation. It is suitable for a variety of artworks, from classical oil paintings to modern photographs. Customization:
- Thanks to modern production techniques, shadow gap frames can now be customized to the artwork and space. Popularity among collectors:
- The shadow gap frame is also very popular among art lovers and collectors, as it can emphasize the value of a work of art and enrich the presentation. Why is the shadow gap frame so popular?
Highlighting the artwork:
- The space between the frame and the picture visually emphasizes the artwork and makes it appear to float. The distance between the frame and the picture visually emphasizes the artwork and makes it appear to be floating.
- Modern Aesthetics: The shadow gap frame fits perfectly with modern and minimalist interior styles.
- Multitalent: It is suitable for a variety of artworks and spaces.
Choosing the right wood for your shadow gap frame
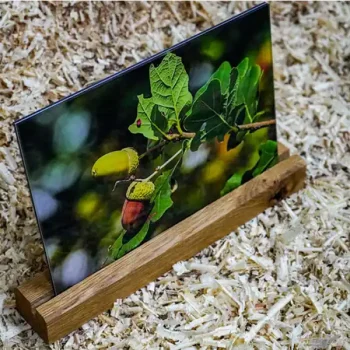
Oak – Robust and timeless
Oak wood impresses with its hardness and durability. Its distinctive grain gives each frame a rustic yet elegant look. Perfectly suited for larger pictures, as the material remains stable even under high stress.
Walnut – Noble warmth
Walnut wood convinces with its warm, dark tone and fine grain. It is excellent for modern and classic interior styles and offers a luxurious look.
Lime – Light and versatile
Lime wood is lightweight, easy to work with, and has a uniform grain. It is ideal for smaller frames and works well in bright rooms.
Beech – Universal and resilient
Beech wood is a versatile all-rounder. With its light, even surface and high strength, it is a popular choice for diverse design projects.
Ash – Characterful
Ash wood is characterized by its light tones and distinctive grain. It gives the frame a modern and dynamic appearance.
Tools and materials for building a shadow gap frame
Materials
- Frame profile made of natural wood (e.g., oak, walnut, lime, beech, or ash)
- Wood glue
- Screws
- Varnish, oil, or stain for surface treatment

Tools
- Saw (e.g., miter saw)
- Sandpaper or sander
- Drill and screwdriver
- Measuring tape
- Clamps or vises

Step-by-step guide: building your own shadow gap frame
With this guide, you will build your own shadow gap frame in 6 steps and give your pictures a professional presentation. Please pay attention to clean and precise work at all steps to ensure long-lasting enjoyment of your self-made shadow gap frame.
Measuring and planning
Accurately measure the outer dimensions of your artwork. Plan for a shadow gap of about 5–10 mm to achieve the desired “floating” effect. Add the width of the gap to the width of the visible edge of the frame and multiply the measure by 2. Note all measurements and create a sketch.
Beispiel: SF 5mm + SK 10mm, Bild 500x500mm
Rechnung: 15mm x 2 + 500mm = 530mm Außenmaß
Cutting wood
Practice makes perfect: If you have little experience with miter cuts, practice first on scrap pieces to get a feel for the correct technique.
Cut the wood according to the measurements. Pay attention to precise miter cuts (45° angle) so that the corners of the frame fit together perfectly later.
Sanding
Smooth all edges and surfaces with sandpaper or a sander. Start with coarse sandpaper (grain 100) and work your way up to fine sandpaper (grain 240).
Joining the frame parts
Glue the miter cuts and fix them with clamps or vises. Do not apply too much pressure here. Then measure the two diagonals. They must match exactly.Allow the frame to dry for at least 24 hours. Next, you can attach flat corner brackets to the back of the frame.
Surface treatment
Treat the frame with lacquer, oil, or stain depending on the desired look. This protects the wood and emphasizes its natural grain.
We recommend using linseed oil. This oil is free of solvents and clearly highlights the grain.
Mounting the artwork
Pre-drill corresponding holes with a 3mm drill. Then place your canvas in the shadow gap frame and align the picture. Secure the artwork on the back of the frame. Make sure the picture does not slip inside the frame. Use screws or special brackets that securely fix the picture.
The art of surface treatment
Oiling for a natural look
Oils like linseed or walnut oil penetrate deeply into the wood and emphasize its natural grain. The frame gains a matte shine and remains breathable.
Varnishing for more protection
Varnishes provide a durable surface and protect the wood from moisture and dirt. For a modern look, you can also choose matte or glossy varnishes.
Staining for creative accents
With stains, you can give the wood a new color without covering the grain. Especially with light woods like alder or beech, exciting effects can be achieved.
Tips for perfect shadow gaps
- Precise work: Measure and cut carefully to ensure a clean and professional look.
- Even gap: Use spacers to achieve an even gap width.
- Stable construction: Ensure a solid connection of the frame parts to prevent slipping or warping.
Common mistakes and how to avoid them
Inaccurate measurements
Inaccurate measurements lead to sloppy joints. Check your measurements multiple times and work with a well-calibrated saw.
Incorrect surface treatment
Uneven or insufficient treatment can leave the wood unprotected. Test the chosen product on a small piece of wood before working on the entire frame.
Weak connections
Use high-quality screws and glue to ensure a stable construction. Test the stability before the final mounting of the artwork.
A frame that enhances artworks
A shadow gap frame is more than just a protection for your artwork – it is a design element that amplifies the impact of your picture. With the right planning, high-quality materials, and careful craftsmanship, you too can build a custom frame that combines functionality and aesthetics. Whether made of oak, walnut, or ash – each frame becomes unique and gives your art a special touch.
If building a shadow gap frame yourself is too time-consuming or you lack the time, you can easily design your desired frame with our designer. We will then deliver the matching kit directly to your home.